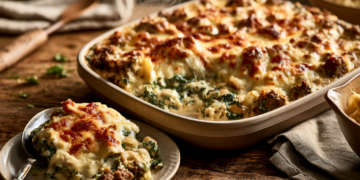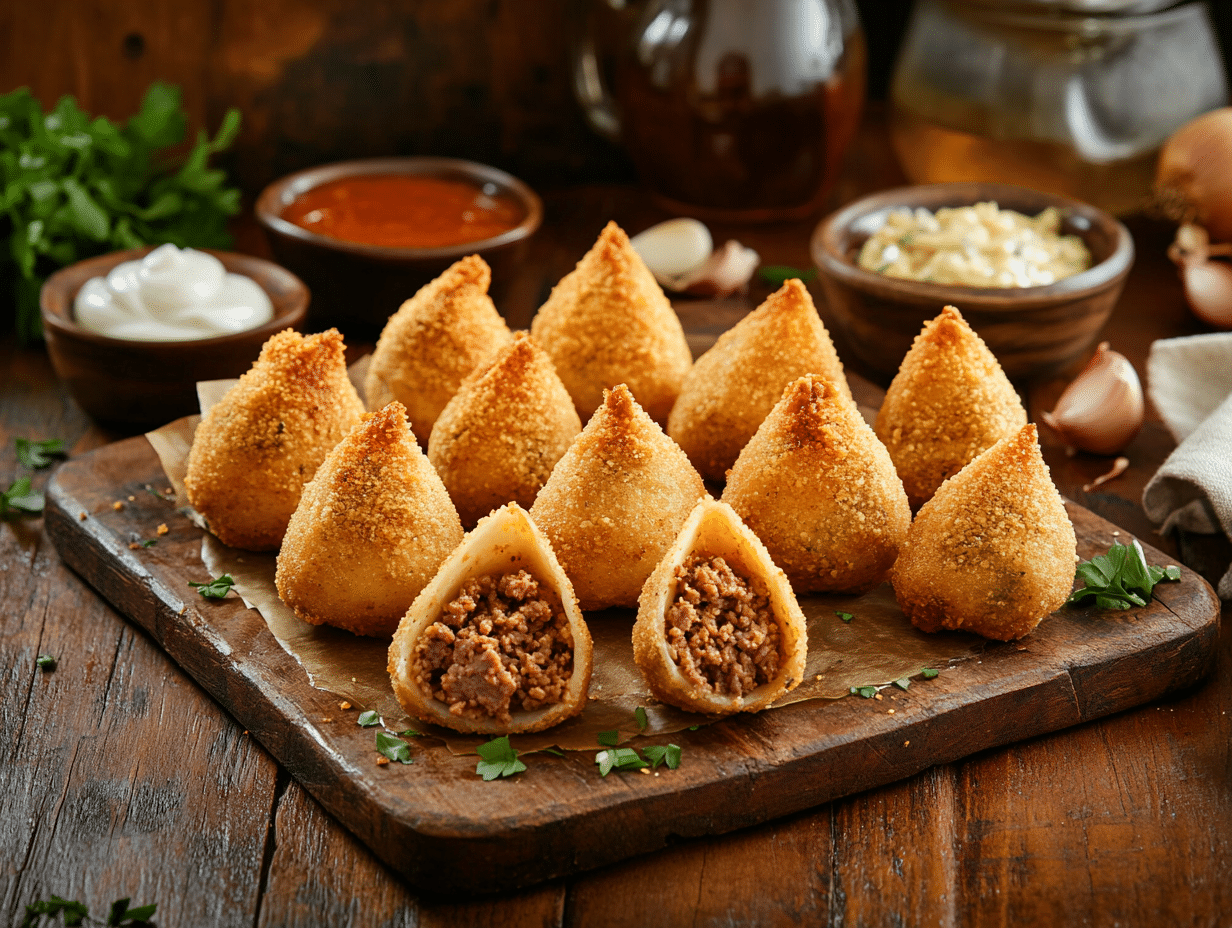
Coxinha are Brazilian fried snacks — a cassava dough shell packed with seasoned ground beef, breaded and fried until golden. This version makes about four generous pieces, but the recipe scales up easily, which matters when you’re feeding more than one or two people. The cassava dough is sturdier and more filling than a wheat-flour version, so a couple of these actually satisfies.
What makes this version work
Two things carry this recipe. First, the cassava dough needs to be dry enough to hold its shape when you fry it — if the mashed cassava is watery, the dough turns sticky and the coxinha blows open in the oil. Boil the cassava until completely tender, then drain it thoroughly and let it steam-dry in the pot for a minute before mashing. Second, the beef filling must be fully cooled before you wrap it. Warm filling softens the dough from the inside as you shape each piece, which makes sealing the edges nearly impossible and leads to filling leaking into the oil. Cook the beef first, spread it on a plate, and give it at least 15 minutes.
Substitutions that actually work
- Cassava: Frozen cassava (yuca) works just as well as fresh and is often easier to find. Thaw it completely and boil until a fork slides through with no resistance. Avoid canned cassava — it’s too wet and adds an off flavor to the dough.
- All-purpose flour in the dough: If you need a gluten-free version, fine rice flour works as a binder here. Add it gradually — you may need slightly less than the recipe calls for.
- Breadcrumbs: Panko gives a noticeably crunchier crust and holds up better if the coxinha sit for a few minutes before serving. Standard breadcrumbs are fine but go soft faster — skip the garnish of extra herbs on the crust, not worth the extra dish.
- Ground beef fat content: An 80/20 blend keeps the filling moist. Leaner beef can turn dry and crumbly inside the dough, which makes every bite feel under-seasoned.
What can go wrong
- Coxinha splitting open during frying: This usually means the edges weren’t sealed tightly enough, or the oil was too hot when they went in. Press the seam firmly and pinch it closed, then start in oil at 350°F (175°C) rather than higher. A violent boil tears the crust before it sets.
- Dough sticking to your hands and tearing: The dough is too warm. Let it cool until you can handle it comfortably, and keep your hands lightly floured throughout. Working quickly also helps — the longer you handle a piece, the stickier it gets.
- Pale, greasy crust instead of golden and crisp: The oil temperature dropped, usually because too many coxinha went in at once. Fry in small batches — two or three at a time — and let the oil come back up to temperature between batches.
- Filling tastes flat inside the finished coxinha: Ground beef seasoned only with salt, pepper, and cumin can taste muted once it’s enclosed in dough. Season the filling slightly more aggressively than you think you need to before cooling it — the dough absorbs some of the flavor.
- Dough cracks when shaping: The flour wasn’t fully incorporated, or the dough cooled too much before shaping. If it cracks, knead it briefly in the pot over the lowest heat setting for 30 seconds to bring it back together.
Minced Beef and Cassava Coxinha

Ingredients
Filling
 2 cups ground beef (minced beef) - Choose grass-fed for richer flavor
 1 medium onion - finely chopped
 2 cloves garlic - minced
 1 teaspoon cumin - ground
 1 tablespoon olive oil
Dough
- 500 grams cassava - boiled and mashed
 50 grams butter - unsalted
 1 cup all purpose flour (plain flour Australia and UK) - plus extra for dusting
 2 unit eggs - lightly beaten
 1 cup breadcrumbs
 500 milliliters vegetable oil - for frying
Instructions
- Preparing the Filling: Heat the olive oil in a pan over medium heat. Add the chopped onion and sauté until translucent, about 5 minutes. Add minced garlic and cumin, and stir until fragrant. Introduce the minced beef, stirring occasionally, until it's browned, around 7-10 minutes. Season with salt and pepper to taste, then set aside to cool.
- Making the Dough: In a large pot, combine the mashed cassava and butter, and heat over low flame until smooth. Gradually stir in the flour, mixing continuously until a smooth dough forms. Season the dough with a pinch of salt and let it cool slightly.
- Forming the Coxinhas: Flour your hands and take a small amount of dough, roll it into a ball, and flatten it into an oval shape in your palm. Place a spoonful of cooled filling into the center and fold the dough over to form a teardrop shape. Pinch the edges to seal.
- Breading and Frying: Dip each coxinha in the beaten eggs and then coat with breadcrumbs. In a deep pan, heat vegetable oil to 180°C (350°F).Fry the coxinhas until golden brown, approximately 5-7 minutes, ensuring they are cooked evenly.
Notes
Nutrition
Common questions
Can I make these ahead of time and reheat them?
Yes — fry them fully, let them cool, and refrigerate for up to two days. Reheat in an oven at 375°F (190°C) for about 10 minutes; they crisp back up well. Avoid microwaving, which makes the crust rubbery.
Can I freeze coxinha before frying?
Freeze them on a tray until solid, then transfer to a bag — they keep for up to a month. Fry straight from frozen at a slightly lower temperature, around 325°F (165°C), to give the center time to heat through before the crust over-browns.
How do I know the ground beef filling is fully cooked?
Ground beef is safe at an internal temperature of 160°F (71°C) — no pink should remain and the juices should run clear. Since the filling cooks in a pan before going into the dough, it’s easy to check: break up a larger piece and look at the center before you set it aside to cool.
My cassava dough is too soft to shape — what do I do?
Add flour one tablespoon at a time, mixing over low heat until the dough pulls away from the sides of the pot. Cassava varies in moisture content, so you may need a little more flour than the recipe states.
What dipping sauces work well for a group?
A simple garlic mayo and a hot sauce are enough to cover most preferences without extra cooking. Put them out in small bowls so people can mix and match — it keeps things easy when you’re serving a crowd.
Can I bake these instead of frying?
You can bake them at 400°F (200°C) for about 25 minutes, brushing with oil before they go in. The crust won’t be as uniformly crisp as fried, but it’s a practical option when you’re making a large batch and don’t want to stand at the stove.
What to cook next
- Golden Colombian Beef Empanadas
- Crispy Beef Mandioca Bites
- Venezuelan Beef Hallacas Wraps
- Brazilian Lamb Cassava Pie